|
Can't find what you need? Request a disassembly manuals and we will try to locate it and add it to our database.
If you like this manual recomend it to your friends...
| | |
| |
| |
|
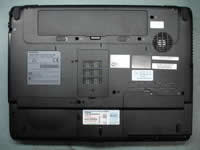 |
STEP 1
First, remove the battery.
After the battery remove the memory cover and the hard drive cover (left).
There is one more cover on the right (blank) but there are no devices under this cover.
|
| |
|
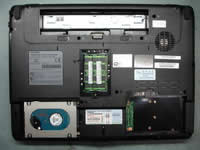 |
STEP 2
Slide the hard drive to the left and disconnect it from the motherboard. Lift up and remove the hard drive.
Remove both memory modules.
|
| |
|
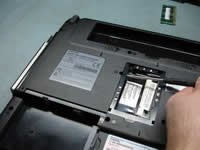 |
STEP 3
Remove one screw securing the optical drive and push it from the laptop with a screwdriver.
Remove the optical drive.
|
| |
|
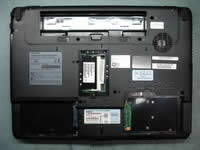 |
STEP 4
Remove all screws from the bottom.
|
| |
|
 |
STEP 5
Start removing the keyboard bezel with your fingers.
|
 |
STEP 6
Lift up and remove the keyboard bezel.
|
|
| |
|
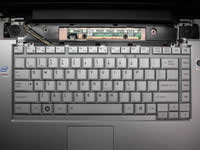 |
STEP 7
Remove two screws securing the keyboard.
|
| |
|
 |
STEP 8
Lift up the keyboard and disconnect it from the motherboard.
|
| |
|
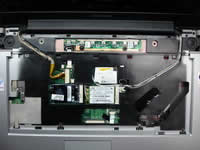 |
STEP 9
Disconnect cables.
Diconnect antennas from the wireless card.
|
| |
|
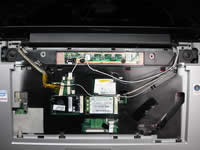 |
STEP 10
Remove four screws securing the display hinges.
|
| |
|
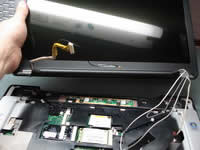 |
STEP 11
Lift up and remove the display assembly.
|
 |
STEP 12
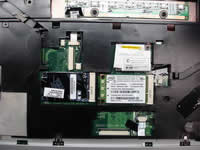
Remove screws securing wireless card and HD DVD decoder.
Remove both cards.
|
|
| |
|
 |
STEP 13
Unplug the touchpad cable.
Remove one screw securing the top cover.
|
| |
|
 |
STEP 14
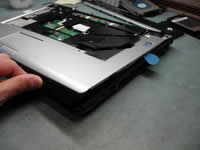
To separate the top cover from the base you can use a guitar pick.
Insert the pick between the top cover and base and move it along the side.
|
| |
|
 |
STEP 15
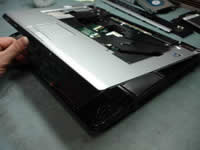
Remove the top cover assembly.
|
| |
|
 |
STEP 16
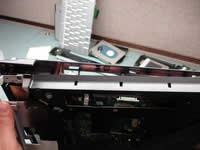
While removing the top cover assembly you'll have to unlock latches located on the back.
|
| |
|
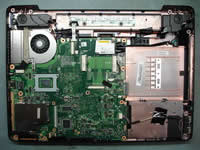 |
STEP 17
Unplug cables pointed with red arrows.
Lift up the power jack and separate it from the laptop base.
|
 |
STEP 18
Disconnect one more cable and remove one screw.
|
|
| |
|
 |
STEP 19
Lift up and remove the cooling fan.
|
| |
|
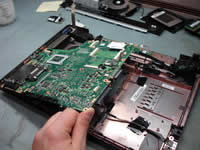 |
STEP 20
Start removing the motherboard from the right side.
|
| |
|
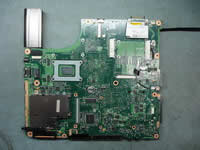 |
STEP 21
Remove two screws securing the modem.
Remove the modem.
|
| |
|
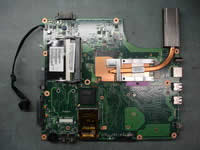 |
STEP 22
Remove two screws securing the heatsink.
Remove the heatsink.
|
| |
|
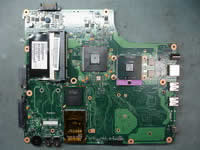 |
STEP 23
Unlock the CPU socket and remove the CPU.
|
|
| |
If you like this manual recomend it to your friends...
Search for Disassembly manuals
PinoutMaster team 2005 - 2025
Service manuals -
Car Audio Unlock-
Elemetnt Datasheets-
|


