|
|
STEP 8
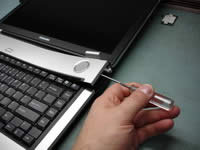
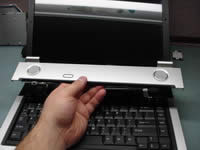
In order to remove the keyboard, you have to remove two screws on the top left and right sides.
|
|
| |
|
 |
STEP 9
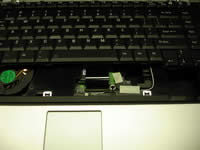
Lift up the keyboard to get access to the cable. Do not pull the cable! Unlock the connector first.
Now you can pull the flat cable from the connector and remove the keyboard.
|
| |
|
 |
STEP 10
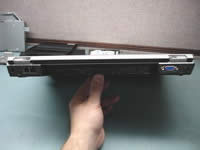
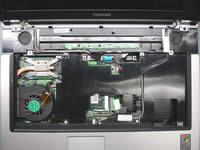
Remove two screws securing LCD hinges on the back of the laptop.
|
| |
|
 |
STEP 11
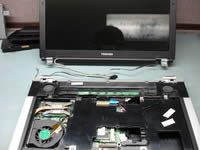
Disconnect the video cable on the system board. Do not pull wires. Lift up the connector by edges.
Remove the tape securing the wireless antenna cables. Pull the cables through the opening and remove them from the route.
Remove two screws securing the laptop LCD assembly.
|
| |
|
 |
STEP 12
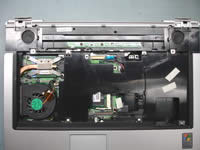
Lift up and remove the LCD assembly.
|
| |
|
 |
STEP 13
Disconnect the switch board cable on the system board.
Disconnect the speaker cable on the system board.
Disconnect the touchpad cable on the system board.
Remove four screws securing the top cover assembly.
|
| |
|
 |
STEP 14
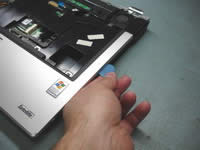
Separate the top cover assembly and the laptop base using a guitar pick.
Move the guitar pick along the side to unlock the latches securing the laptop top cover assembly.
Remove the top cover assembly.
|
| |
|
 |
STEP 15
Only now you can access the laptop memory.
Remove, replace or upgrade it.
I have no idea why they didn't make an opening in the top cover assembly for easy memory access.
|

